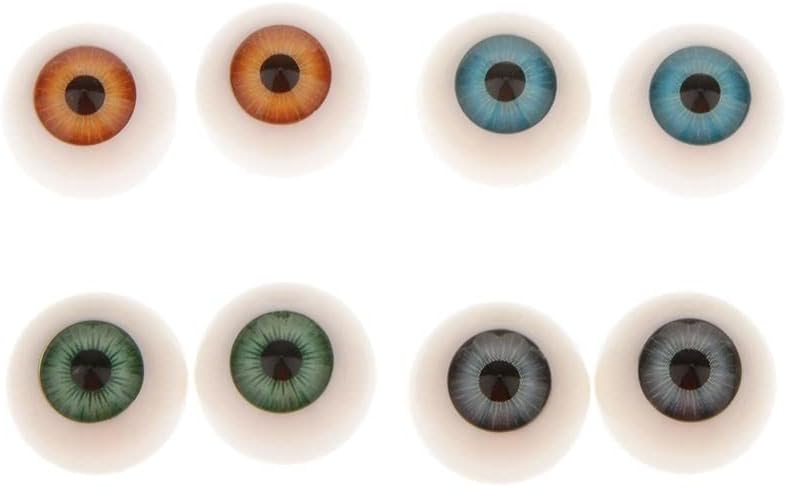
Generic T2C9 False Eye, Acrylic, Blue, Grey, Brown, Green
FREE Shipping
Generic T2C9 False Eye, Acrylic, Blue, Grey, Brown, Green
- Brand: Unbranded

Description
Use the 4B pencil to draw a shadow of the upper eyelid over the iris. Keep in mind that eye isn't flat, and therefore the shadows must be curved. Alright, before blending, we need to make sure our shading is as smooth as possible, so that means making sure there are no gaps between our strokes and that any blotchy areas are reduced to the best of our ability. Now let’s figure out where to place the eyebrow. Lines from left to right: Tail, arch, and beginning of eyebrow.
The dragon is a powerful mythological beast that is both respected and feared. A tattoo of the mighty creature’s eye can mean many things, depending on your interpretation, but in general, it is thought to represent wisdom, knowledge, and strength. It symbolizes masculinity and prosperity; some also believe the dragon’s eye is associated with both good and evil. Men who admire these qualities and want a dragon tattoo design that demands attention will be drawn to this piece.The edge around the iris is almost always darker than the rest of the eye because of shadows and a higher density of structures in the eye. At the top of the iris (against the eyelid) there is almost always a shadow present. We are now going to draw extra shadows over the iris that we have just colored. To build up solid saturations for your shadows, I will advise to work in layers and to use a soft pencil (2B-4B). You apply the shadow with gentle sketching movements while pressing the pencil on your paper. This gives you a nice blended effect with nice contrast. You can add veins in the eyeball by sharpening your pencil and drawing them in very very faintly. Try to make your veins even lighter as they reach toward the iris. Erase part of the eyeball that crosses through the iris/cornea. Then inside the iris, draw a narrow oval for the pupil. Draw the Eyelids The wolf is a mighty beast that is rich in symbolic value. It represents loyalty, family, and protection and is a fantastic tattoo choice for those who prioritize these things. There are many wolf tattoo designs, but choosing just the animal’s eyes focuses on the meaning of your intentions. The wolf also has significance in Native American culture. Some state that Shamans felt the eyes were reflections of emotion, conveying a message such as anger or fear. What features of the eye can you see? Which ones are obscured? Where are the important overlaps? (No idea what overlaps are? Watch Lesson 4 of my free Mini-Course!) What areas
As we can see in this drawing eyes tutorial, the pupil seems to be rather tiny in the original image. To start drawing the pupil, study the reference image as you go.Now draw the iris by creating a curve that touches the top and bottom of the cornea. Make sure your linework is very light, so you can make changes easily. Now that you have many highlights you will see that your eye looks a lot more realistic but also has become a lot lighter. To create a beautiful contrast, you move your pencil one more time along the darkest shadows and the sharpest edges. For example, it is nice to have a dark shade next to a white shape so that it becomes even more striking and conveys depth. Erasing and drawing shadows over it can be repeated several times until you are satisfied. You work here again with layers. After adding the final dark shadows To shade the brow area, I’m going to again consider the light source in the top right and work out which areas of skin face the light directly and which areas face away. I’m shading the right side of the brow lighter than the left side because it faces the light directly.
If your drawing doesn’t pop enough, try cleaning up the brightest parts of each highlight or using a white gel pen/correction fluid to make the highlight a bright white. Right where the eyelid crease is, create a gradual value change from dark to light as we shade our way down. This will make the skin actually look as though it’s creased. We may start softly shading the shadows of the nose’s ridge once we have created the contours of the eyebrows and the depression of the upper eye region. A nose’s ridge creates a little shadow on either side of it. These shadows diminish from its ridge in the direction of the eyes. If you want, you can add obstructions in the highlight like the silhouette of a person standing in front of the window or some curtains. You can even create a gradient across your highlight to indicate a difference in light intensity. The iris is an area with a lot of depth and details. Both dark and light shades are close together. It is therefore important to have gray as your basic tone. Later on you can draw over dark areas and erase light details. Personally, I achieve the softest colored result using a stumper. So actually you fill in the iris with the graphite that is still on your stumper (mine are always dirty). To make sure that your stumper does not leave any nasty stains, I first wipe off the first layer of graphite that is still on, on a loose sheet of paper. I always color with my stumper by making circular movements. Continue until your iris is evenly light gray. Do not forget to keep your highlights in your iris and pupil white. Shading of the irisThe curvature starts to descend again as it approaches the uppermost horizontal line and continues to do so until it once more reaches the inner portion of the eye. Keep in mind that the eye drawing should resemble a distorted football by being more bent on the outside and narrower on the inside. Use the same pencil to shade all the iris. Draw a semi-shadow around the ring, and little shadows between the fibers.
- Fruugo ID: 258392218-563234582
- EAN: 764486781913
-
Sold by: Fruugo